How to Pack a Cooler for a Multi-Day Backcountry Camp in 2026
Layering strategies, ice management, and food safety practices for 3-7 day remote trips
Multi-day backcountry camps demand meticulous cooler packing. A three-day canoe trip or week-long base camp requires different strategy than an afternoon tailgate.
Temperature control over 72+ hours means managing ice melt, preventing cross-contamination, and sequencing access so you’re not digging through warm layers to reach day-one meals.
This guide walks through the layering system, ice ratios, food safety benchmarks, and gear decisions that keep provisions cold and safe from trailhead to last night’s dinner.
| Tier | Brand | Why |
|---|---|---|
| Budget pick | Coleman Xtreme | Adequate insulation for weekend trips under $60. Ice retention tops out around 48 hours in moderate temps — fine for short hauls, marginal beyond three days. |
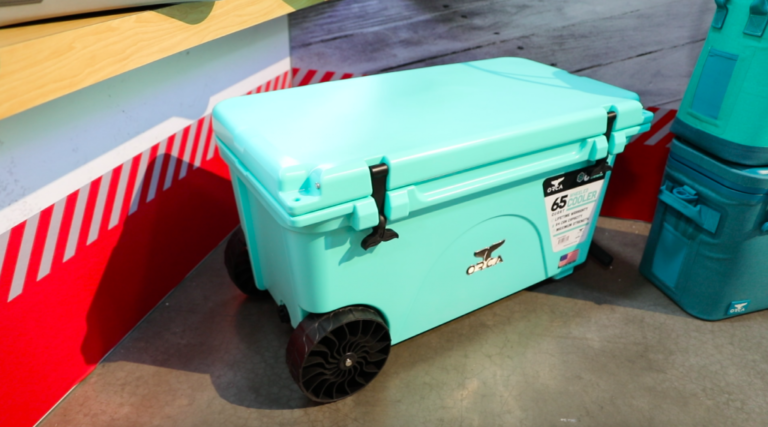
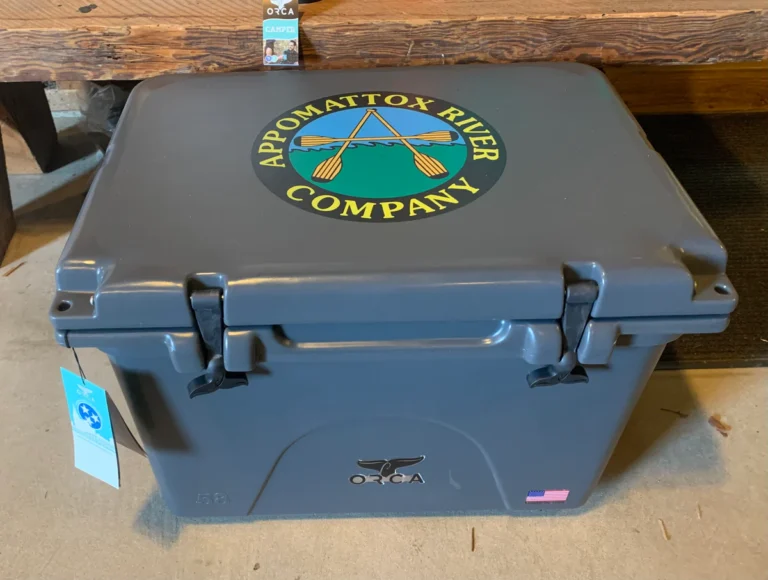
| Mid-range pick | Orca | Rotomolded construction and dense foam insulation deliver 7-10 day ice retention. Priced between entry coolers and ultra-premium options, Orca units handle extended backcountry duty without the four-figure cost. |
| Premium pick | Yeti Tundra | Industry-leading insulation and bear-resistance certification. Yeti’s Tundra series holds ice past the ten-day mark in field tests — overkill for most trips, essential for remote expeditions where resupply isn’t an option. |
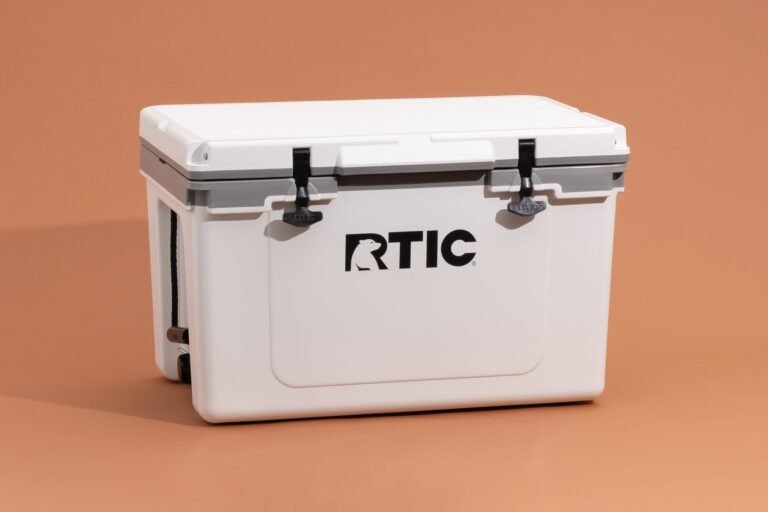
| Ultralight pick | RTIC Soft Pack | Collapsible design saves pack space on hike-in camps. Ice retention trails hard-sided models (2-3 days), but the weight savings matter when portaging or backpacking into a site. |
What to Look for When Choosing a Backcountry Cooler
The 2:1 Ice-to-Food Ratio and Why It Matters
A cooler packed two-thirds ice and one-third food maintains safe temperatures longer than a half-and-half split. The thermal mass of ice absorbs heat infiltration before it reaches perishables.
Pre-chill the cooler interior 12-24 hours before packing. Fill with sacrificial ice, let it sit overnight, then dump the melt and repack with fresh ice and food the morning of departure.
Block ice melts slower than cubes. A 10-pound block lasts 30-40% longer than an equivalent weight of bagged cubes because surface area-to-volume ratio is lower.
For trips longer than four days, consider supplementing block ice with reusable gel packs. Gel packs don’t create meltwater and can be refrozen at resupply points if your route allows.
Layering Strategy: Bottom to Top
Start with a 3-4 inch base layer of block ice. This foundation stays coldest and protects items on top from ground heat transmitted through the cooler floor.
Place frozen proteins (vacuum-sealed steaks, chicken breasts, ground meat) directly on the block ice. As they thaw over days two and three, they act as secondary ice sources.
Add a thin layer of cubed ice over the proteins, then position day-one and day-two perishables (eggs, cheese, fresh vegetables) in the middle zone.
Top with a final ice layer covering all food items completely. Air pockets accelerate warming — fill gaps with additional cubes or crushed ice.
Non-perishables (canned goods, dry snacks, condiments) go in a separate dry bag outside the cooler. Mixing them with ice wastes cold capacity on items that don’t require refrigeration.

Food Safety Temperatures for Extended Trips
The USDA Food Safety and Inspection Service sets 40°F as the upper safe limit for perishable storage. Above that threshold, bacterial growth accelerates exponentially.
Use a waterproof thermometer clipped inside the cooler to monitor internal temp. Check morning and evening — if readings creep above 40°F, consume perishables that day rather than risk spoilage.
Vacuum-sealed proteins stay safe longer than butcher-paper wraps. The airtight seal prevents cross-contamination and limits surface exposure to meltwater bacteria.
Plan your menu so high-risk items (ground meat, poultry, seafood) get consumed in the first 48 hours. Reserve cured meats, hard cheeses, and pre-cooked vacuum-sealed meals for days three through seven.
Tier-by-Tier Cooler Performance for Multi-Day Trips
| Brand | Tier | Ice Retention | Weight (40qt) | Standout Feature |
|---|---|---|---|---|
| Coleman Xtreme | Budget | 2-3 days | 9 lbs | Sub-$60 entry point |
| Orca | Mid-range | 7-10 days | 28 lbs | Rotomolded durability at accessible price |
| Yeti Tundra | Premium | 10+ days | 29 lbs | IGBC bear-resistance certified |
| RTIC Soft Pack | Ultralight | 2-3 days | 4 lbs | Collapsible for hike-in portage |
Mid-range rotomolded coolers balance ice retention and cost for most backcountry camps. Budget models suffice for weekends; premium units justify cost only on expeditions beyond a week.
Access Sequencing: Minimize Lid-Open Time
Every lid opening lets warm air infiltrate and cold air escape. Plan meals so you retrieve all ingredients for a cooking session in one access event.
Pack a separate small cooler or insulated bag for day-use items (lunch meats, snacks, beverages). This keeps the main cooler sealed except for morning and evening meal prep.
Organize food by day in labeled dry bags or mesh pouches. Grab the entire “Day 3” pouch in ten seconds rather than rummaging through loose items for three minutes.
If your route includes a midpoint resupply (cache drop, shuttle meet), repack the cooler then. Drain meltwater, consolidate remaining ice, and reload with fresh provisions for the back half of the trip.
Drain the cooler every 24 hours even if the plug isn’t dripping. Pooled meltwater conducts heat faster than air, warming food from below. Tilt the cooler toward the drain, open the plug, let it empty, then reseal.
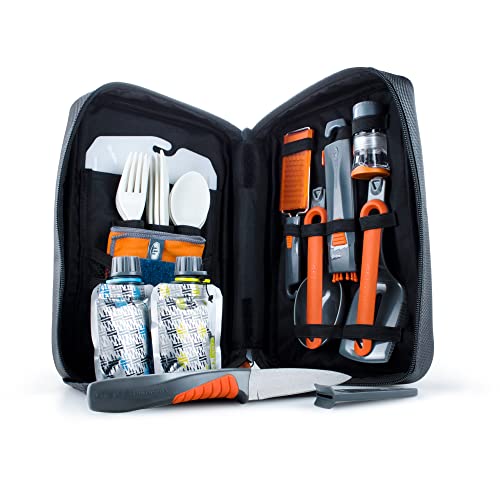
Gear to Pack Alongside Food
A long-handled spoon or tongs lets you retrieve items from the bottom without reaching into ice melt. Bare hands in 35°F water numb quickly and increase fumbling time.
Waterproof labels or a grease pencil mark day-specific bags. Sharpie on dry bags fades in wet conditions; grease pencil or vinyl labels stay legible through splashes and condensation.
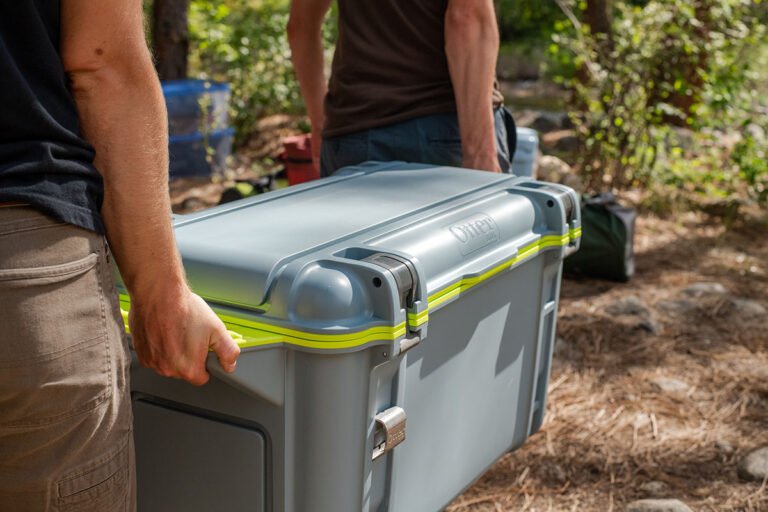
Small bungee cords or cam straps keep the cooler lid compressed during transport. Even top-tier latches can pop open if a canoe flips or a truck hits a pothole.
A thin foam pad underneath the cooler insulates from ground heat when you’re camped on sun-baked rock or warm sand. An emergency space blanket draped over the top reflects solar heat during midday.

Leave No Trace Food Storage Practices
The Leave No Trace Center for Outdoor Ethics recommends storing all scented items (food, trash, toiletries) 200 feet from camp and sleeping areas in bear country.
Even a locked cooler isn’t wildlife-proof if left unattended. Bears can roll a cooler off a cliff or into water. Use a bear hang, bear canister, or provided bear box when available.
Pack out all food waste including grease, crumbs, and wrappers. Meltwater drained into the woods carries food scent and habituates animals to human-food sources.
If your cooler develops a persistent food odor, clean it with a baking soda solution after the trip. Residual scent increases wildlife encounters on future outings.
Choosing Between Hard-Sided and Soft-Sided Coolers
Hard-sided rotomolded coolers dominate multi-day trips because insulation thickness and structural rigidity outperform soft packs beyond 72 hours.
Soft coolers make sense for hike-in base camps where every pound matters. Hydro Flask’s soft cooler line and RTIC’s collapsible models weigh half what a comparably sized hard cooler does.
Hard coolers double as camp furniture (benches, cutting boards, bear-resistant storage). Soft packs offer no secondary utility once emptied.
For mixed-mode trips (drive to a trailhead, then portage two miles to a campsite), consider a mid-size hard cooler for the bulk of provisions and a small soft cooler for trail snacks. Consolidate into the hard cooler once you reach camp.
Choose Based on Trip Length and Access
Trips under 3 days with vehicle access
A budget or mid-range cooler suffices. Focus on packing efficiency and pre-chilling. Ice retention beyond 72 hours isn’t critical if you’re back at the trailhead by day three.
Trips 4-7 days or remote resupply
Invest in a rotomolded cooler with proven multi-day ice retention. Orca and Yeti models hold temps through a full week if packed correctly. The upfront cost pays off in food safety and fewer mid-trip resupply headaches.
Hike-in or paddle trips with portage
Weight trumps ice retention when you’re carrying the cooler a mile or more. A soft-sided model or ultralight hard cooler (sub-15 lbs empty) prevents fatigue. Plan shorter trip windows (2-3 days max) to match the reduced insulation performance.
Common Packing Mistakes That Cost Ice Retention
Packing warm food directly into the cooler defeats pre-chilling. Refrigerate or freeze all provisions overnight before loading them alongside ice.
Overfilling the cooler compresses ice and reduces airflow around items. Leave 10-15% headspace for a top ice layer and air circulation.
Opening the lid to “check on things” wastes cold. Resist the urge. If you packed methodically and the drain isn’t leaking, the contents are fine.
Using the cooler as a seat or step-stool compresses insulation foam permanently. Even rotomolded lids have weight limits — check the manufacturer’s rating before standing on one.
Rotomolded Coolers: Strengths and Trade-Offs
Strengths of rotomolded construction
- 7-10+ day ice retention in field conditions with proper packing
- One-piece molded shell eliminates seam failures and leaks
- Thick foam insulation (2-3 inches) outperforms thin-wall designs
- Structural rigidity handles rough transport (bouncing truck beds, rocky portages)
- Many models carry IGBC bear-resistance certification for grizzly country
- Decade-plus service life with minimal maintenance
Trade-offs to consider
- Weight penalty: 40-quart models run 25-30 lbs empty before adding ice and food
- Price point 3-5× higher than entry-level coolers ($250-$400 vs $40-$80)
- Bulky footprint difficult to fit in compact vehicles or small watercraft
- Overkill for day trips or weekend outings under 48 hours
Supplemental Cooling Strategies for Extended Trips
Dry ice adds 10-20% more cold-hold time but requires handling precautions. Wear gloves, don’t seal dry ice in airtight compartments (CO2 buildup), and place it on top of regular ice so frozen items don’t become rock-hard.
Frozen water bottles serve double duty as ice packs early in the trip and drinking water as they thaw. One-liter bottles freeze solid overnight and melt slowly over 48-72 hours.
Reflective emergency blankets draped over the cooler knock 5-10°F off interior temps in full sun. Secure with bungees so wind doesn’t blow them off.
If your route crosses cold streams, submerge the cooler for 20-30 minutes during midday breaks. Stream water often runs 10-15°F cooler than ambient air temps and accelerates re-cooling.
Adapting to Different Backcountry Environments
Desert camps demand extra ice capacity. Ambient temps above 95°F drain ice reserves 40% faster than temperate conditions. Upsize your cooler by one tier (a 65qt instead of a 40qt) or shorten the trip window.
High-altitude camps benefit from thinner air’s lower heat transfer. A cooler that holds ice five days at sea level may stretch to seven days above 8,000 feet, all else equal.
Coastal or lake camps let you submerge the cooler in water overnight. Tie it securely to shore (ropes through tie-down points) to prevent tidal drift. Morning water temps often run 15-20°F colder than midday air.
Forested camps offer natural shade that cuts solar heat infiltration by half compared to open meadows. Position the cooler under tree cover and avoid moving it into sun for convenience.
Frequently Asked Questions
For a 40-quart cooler, budget 25-30 lbs of ice: a 10-lb block on the bottom, 10-12 lbs of cubed ice mixed with food, and 5-8 lbs on top. The 2:1 ice-to-food ratio by volume translates to roughly 30 lbs of ice for 15-20 lbs of food in a mid-size cooler.
Only if you have access to a freezer at a midpoint resupply. Most backcountry camps lack electricity. Instead, drain meltwater daily and rely on the remaining block ice to carry you through. If ice depletes early, shift to non-perishable meals for the final days.
Empty all contents, drain remaining meltwater, then scrub interior surfaces with a baking soda paste (3 parts baking soda, 1 part water). Rinse thoroughly, wipe dry, and leave the lid propped open for 24 hours to air out. Avoid bleach on rotomolded coolers — it can degrade gasket rubber.
Use a separate small cooler or soft-sided bag for drinks and day-use snacks. Beverage access happens 5-10× more often than meal prep, and every lid opening on the main cooler costs ice retention. A dedicated drink cooler sacrifices its ice faster but protects the main unit’s cold hold.
Store all food in waterproof bags (vacuum-sealed pouches, ziplock freezer bags, or dry bags). Elevate items above meltwater by placing a plastic cooling rack or perforated tray on the bottom ice layer. Drain the cooler daily so water doesn’t pool.
No. IGBC certification is mandatory only in designated grizzly habitat (parts of Montana, Wyoming, Idaho, Alaska). Check regulations for your specific destination. Even in non-required areas, a bear-resistant cooler adds safety and reduces wildlife conflict risk.
Only if it carries IGBC approval and you store it properly (200+ feet from camp, secured against rolling). Standard coolers without certification don’t meet bear-canister requirements in areas where canisters are mandated.
Budget 10-12 quarts per person per day for a mixed menu of perishables and non-perishables, then account for ice volume. For four people over seven days, that’s roughly 280-340 quarts of food, requiring 560-680 quarts of combined food-and-ice capacity. Two 65-quart coolers or one 75-quart plus a 40-quart unit splits the load and lets you segregate drinks from meals.
The difference between a cooler that holds ice three days and one that holds ice ten days isn’t the brand name — it’s insulation thickness and how you pack it. A $400 cooler packed poorly performs worse than a $150 cooler packed right.
Outside Magazine gear testing editorial, 2025
Putting It All Together
Multi-day backcountry cooler packing comes down to three pillars: ice mass (2:1 ratio by volume), access discipline (minimize lid-open time), and food sequencing (high-risk items first, shelf-stable last).
The cooler itself matters — rotomolded mid-range and premium models hold temps long enough for week-plus trips, while budget and soft-sided options cap out around three days. Match the tool to the trip length.
Pre-chilling the cooler, freezing proteins solid, draining meltwater daily, and shading the unit from direct sun add 20-30% to baseline ice retention without spending another dollar. Technique beats gear upgrades every time.
If you’re gearing up for your next backcountry adventure, explore options at our best-selling cooler models or check the latest promotions on our deals page. For those comparing rotomolded options, our Orca vs Pelican breakdown contrasts two leading brands in the category. Find local and online retailers through our where to buy guide, and see the newest releases in our new arrivals section.